Guide for installations: Postnord shipping for Woocommerce

Content
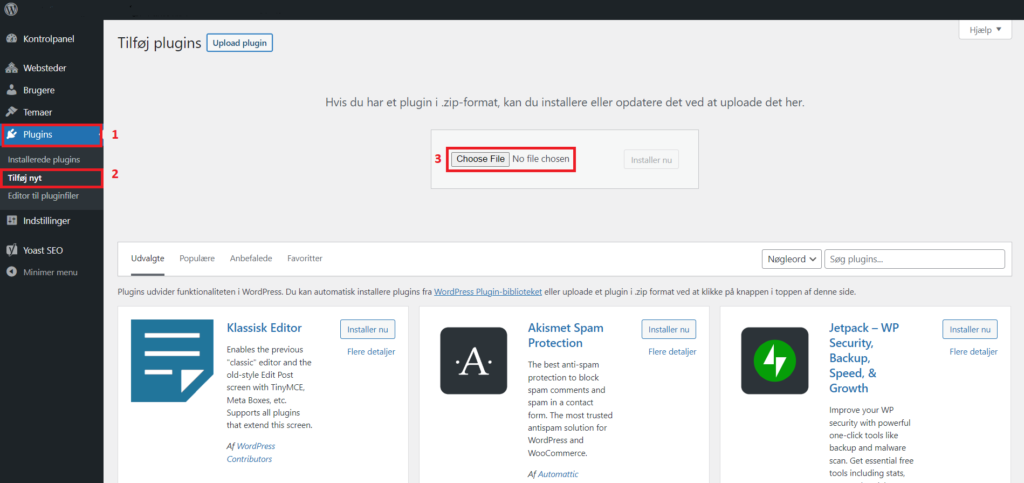
Upload plugin
- Select “Plugins” in the WordPress dashboard
- Click “Add new”
- Click “Browse” and select your plugin file
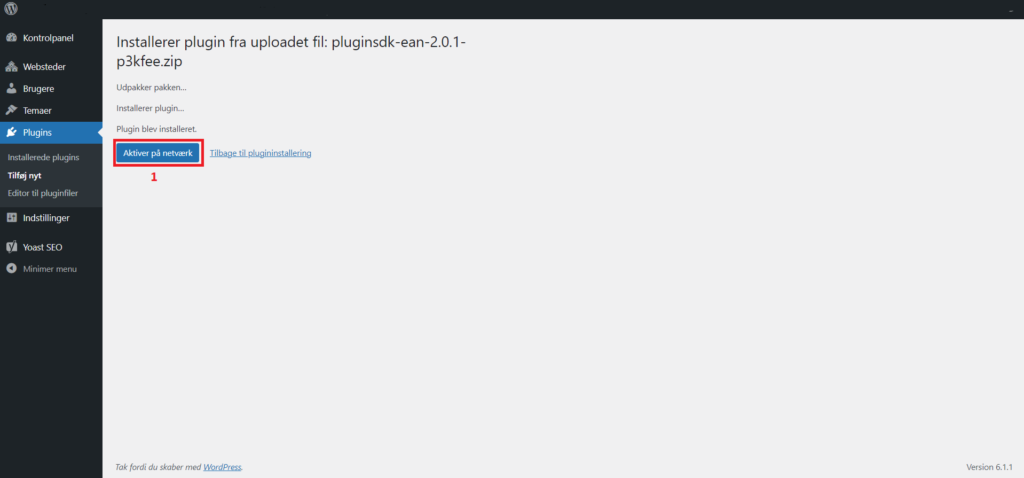
Activate plugin
- Click “Activate plugin” after the upload is complete
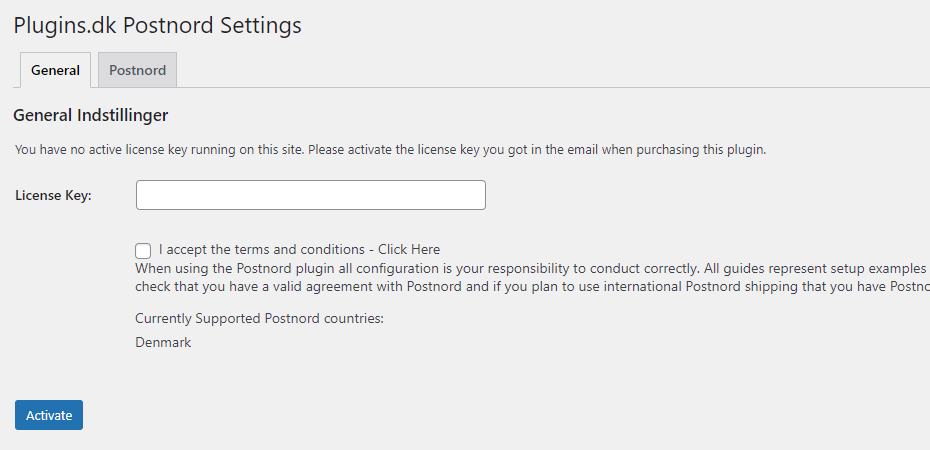
Add license key
- Click “Postnord” in the WordPress dashboard
- Paste your license key.
- Accept terms of use
- Click “Activate”
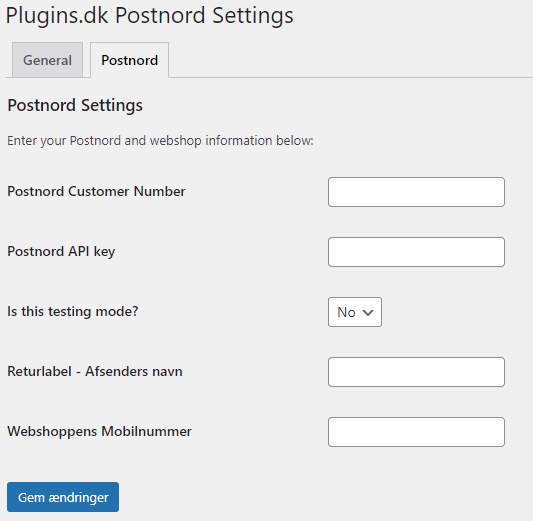
Setup connection to Postnord
- Click the “Postnord” tab
- Enter your Postnord customer number
- Enter your Postnord API key
- Enter your company name in “Sender name”
- Enter the webshops phone number
Set up Postnord as shipping method
- Go to “Setting” in “Woocommerce” in the WordPress dashboard
- Go to the Shipping tab
- Choose the shipping zone in which Postnord should created as shipping method. If you haven’t set up shipping zone, this is required to do before continuing setting up the Postnord method.
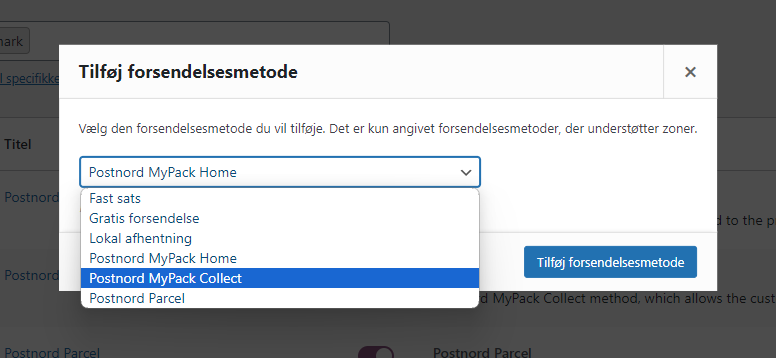
- Click “Add shipping method”
- Choose Postnord MyPack Collect for PickUp point, Postnord MyPack Home for private delivery eller Postnord Parcel for business delivery.
- Click “Add shipping method”
Set up pricing
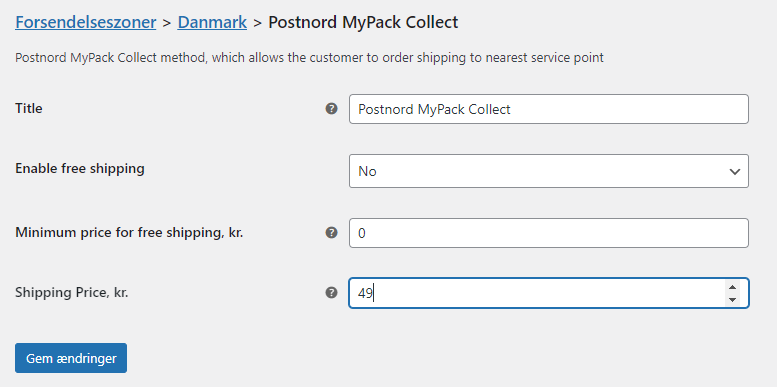
- Edit the shipping method to set up prices
- Enter your desired price for delivery
- Here you can also edit the titel for the delivery method. This title will display in your webshop.
- Click “Save changes”
Set up free delivery
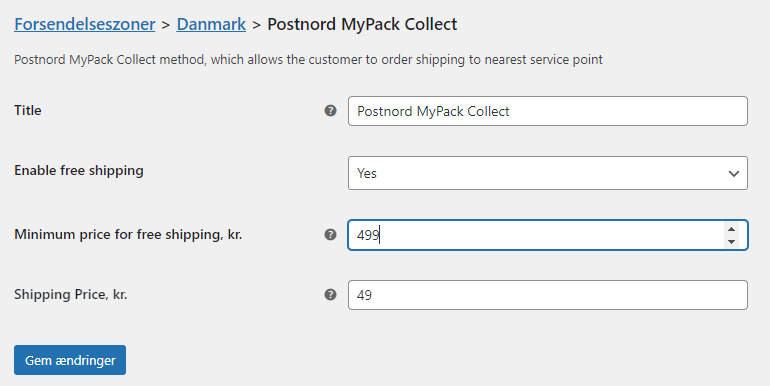
- Edit the shipping method to set up free delivery
- Choose “Yes” in the “Enable free shipping” field
- Enter the cart amount reqiured to get free delivery
- Click “Save changes”
Postnord shipping for Woocommerce is now set up in your webshop.
Do you need help setting up the plugin please take a closer look at our installations service here.